I spent years slathering expensive serums on top of scarred skin and wondering why nothing seemed to penetrate. The truth — which I only understood after studying skin biology properly — is that the surface of the skin is designed to keep things out. The outer layer of the epidermis, the stratum corneum, acts as a barrier. To get actives in, and to trigger real collagen remodelling beneath the surface, you need to create micro-channels. That's exactly what microneedling does.
The Banish kit is the at-home microneedling device I recommend most. It's a surgical-grade stainless steel stamp with 0.5mm needles — long enough to create a genuine wound-healing response without the risks that come with longer professional needles at home. Used correctly, it fades post-inflammatory hyperpigmentation, softens scar texture, and stimulates a measurable increase in collagen and elastin production over time.
Here's exactly how to use it — and why what you eat before and after your session matters just as much as the tool itself.
Why Microneedling Works
Microneedling — also called collagen induction therapy — works by creating controlled micro-injuries in the skin. These tiny punctures trigger the skin's natural wound-healing cascade. First comes inflammation (the short-term redness you see), then the proliferative phase where fibroblasts rush to the site and begin producing new collagen and elastin. Finally, the remodelling phase, which continues for months after each session, gradually improving skin texture, tone, and density.
Research has consistently shown that microneedling increases dermal collagen by up to 400% after a series of treatments, with improvements visible in acne scarring, fine lines, pore size, and overall skin quality. The key word is series — one session will not transform your skin. But a consistent protocol over 8–12 weeks produces results that professional treatments costing ten times as much also deliver.
"Microneedling increases dermal collagen by up to 400% after a series of treatments. The protocol matters more than any single session."
The Banish Kit — What It Is and Why It's Different
Most at-home dermarollers use a rolling motion that drags the needles through the skin at an angle, creating tearing rather than clean punctures. The Banish stamp uses a vertical stamping action, which creates precise, clean micro-channels and a much more controlled treatment.
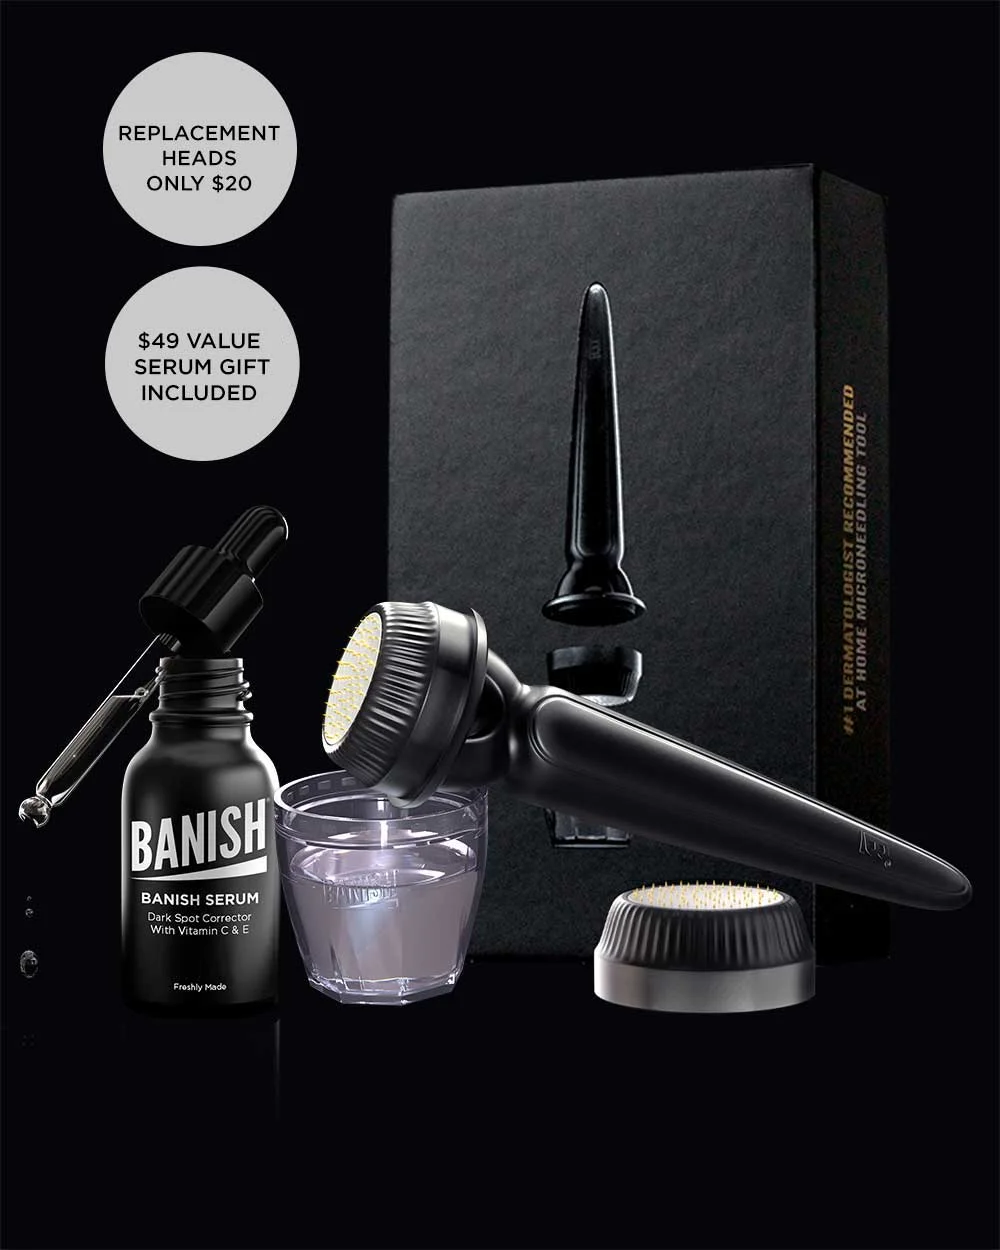
The Banish kit comes with:
- The Banisher stamp — 0.5mm surgical stainless steel needles in a stamp format
- Banish oil — a vitamin C-rich serum formulated to be used immediately post-treatment when absorption is maximised
- Cleaning solution — to sanitise the device before and after each use
The 0.5mm needle length is the sweet spot for at-home use. Longer needles (1mm+) require professional training to use safely; shorter needles (0.25mm) don't penetrate deeply enough to trigger meaningful collagen synthesis. At 0.5mm, you're reaching the papillary dermis where fibroblast activity happens — without the risk of deeper damage.
How to Use the Banish Kit — Step by Step
Before Your Session
Start with completely clean, product-free skin. Double cleanse if you wear makeup or SPF. Sanitise your Banisher with the cleaning solution and allow it to air-dry. Do not use retinol, AHA, BHA, or active vitamin C for 48 hours before needling — these sensitise the skin and increase risk of irritation post-treatment.
During the Treatment
Work in small sections — forehead, cheeks, chin, nose — stamping the device firmly with even pressure. Lift completely between each stamp (do not drag or roll). Work in a grid pattern across each section, covering the area 2–3 times. Mild redness and a sensation similar to sunburn is normal. If you see pinpoint bleeding, you are applying too much pressure — lighten your hand. The whole face should take 10–15 minutes.
Immediately After
This is the highest-absorption window your skin will ever have — the micro-channels you've just created allow topical actives to penetrate far deeper than they ever could on intact skin. Apply the Banish oil immediately. Do not apply anything with fragrance, alcohol, or synthetic preservatives — your skin is temporarily vulnerable. A hyaluronic acid serum and a simple barrier moisturiser are ideal if you want to layer.
Aftercare (48–72 hours)
Avoid actives, retinol, and exfoliants for 48–72 hours. Your skin will be pink and may feel tight — this is normal healing. Wear SPF diligently; fresh collagen is vulnerable to UV damage. Do not sweat heavily or expose the skin to heat for 24 hours post-treatment.
0.5mm needles: once every 3–4 weeks. The skin needs a full inflammatory and proliferative cycle to complete before you stimulate it again. More frequent than this will impair healing rather than accelerate results.
The Nutrition That Makes Microneedling Work Better
Here's what most microneedling guides miss entirely: the collagen your body synthesises in response to the treatment is only as good as the raw materials you give it. Collagen is made of amino acids — primarily glycine, proline, and hydroxyproline — and its production requires vitamin C as a cofactor. Without adequate vitamin C, the hydroxylation of proline cannot occur, and collagen synthesis stalls regardless of how perfectly you've needled.
In the 48–72 hours around your microneedling session, I prioritise:
- Vitamin C-rich foods — kiwi, bell peppers, guava, strawberries, citrus. Aim for 200–500mg from food sources on treatment days
- Glycine-rich foods — bone broth, collagen peptides, skin-on chicken, pork. Glycine is the most abundant amino acid in collagen
- Zinc — oysters, beef, pumpkin seeds. Zinc is essential for wound healing and fibroblast activity
- Omega-3 fatty acids — wild salmon, sardines, walnuts. Anti-inflammatory support allows the healing phase to proceed efficiently
- Vitamin A from food — liver, eggs, orange and yellow vegetables. Supports skin cell turnover and collagen maintenance
"Collagen synthesis requires vitamin C as a cofactor. Without it, the healing response microneedling triggers cannot produce the results you're aiming for."
What Results to Expect — and When
After the first session: mild redness for 24 hours, then skin may look temporarily brighter as circulation increases. No dramatic change yet — you're laying groundwork.
After session 3 (weeks 9–12): most people begin noticing improved texture, reduced pore appearance, and the first signs of scar softening. Hyperpigmentation may begin to fade as old skin cells are replaced with new, more evenly pigmented ones.
After session 6 (months 5–6): meaningful improvement in deeper scarring. Skin density increases. Lines appear softer. This is when the real collagen remodelling is visible.
Patience is the non-negotiable ingredient. The wound-healing cascade is not something you can rush. What you can do is support it — with good technique, the right device, and the nutrition that gives your skin the raw materials it needs to rebuild.
The full food-first protocol for collagen synthesis — including which foods to eat, which combinations maximise absorption, and how to build a weekly skin nutrition plan — is covered in detail in the Eat Your Skincare bundle.
Microneedling is one of the few at-home tools that produces results comparable to clinical treatments — but only when the internal foundation is there to support it. Feed your skin from the inside, treat it with the right tools from the outside, and the results compound over time.